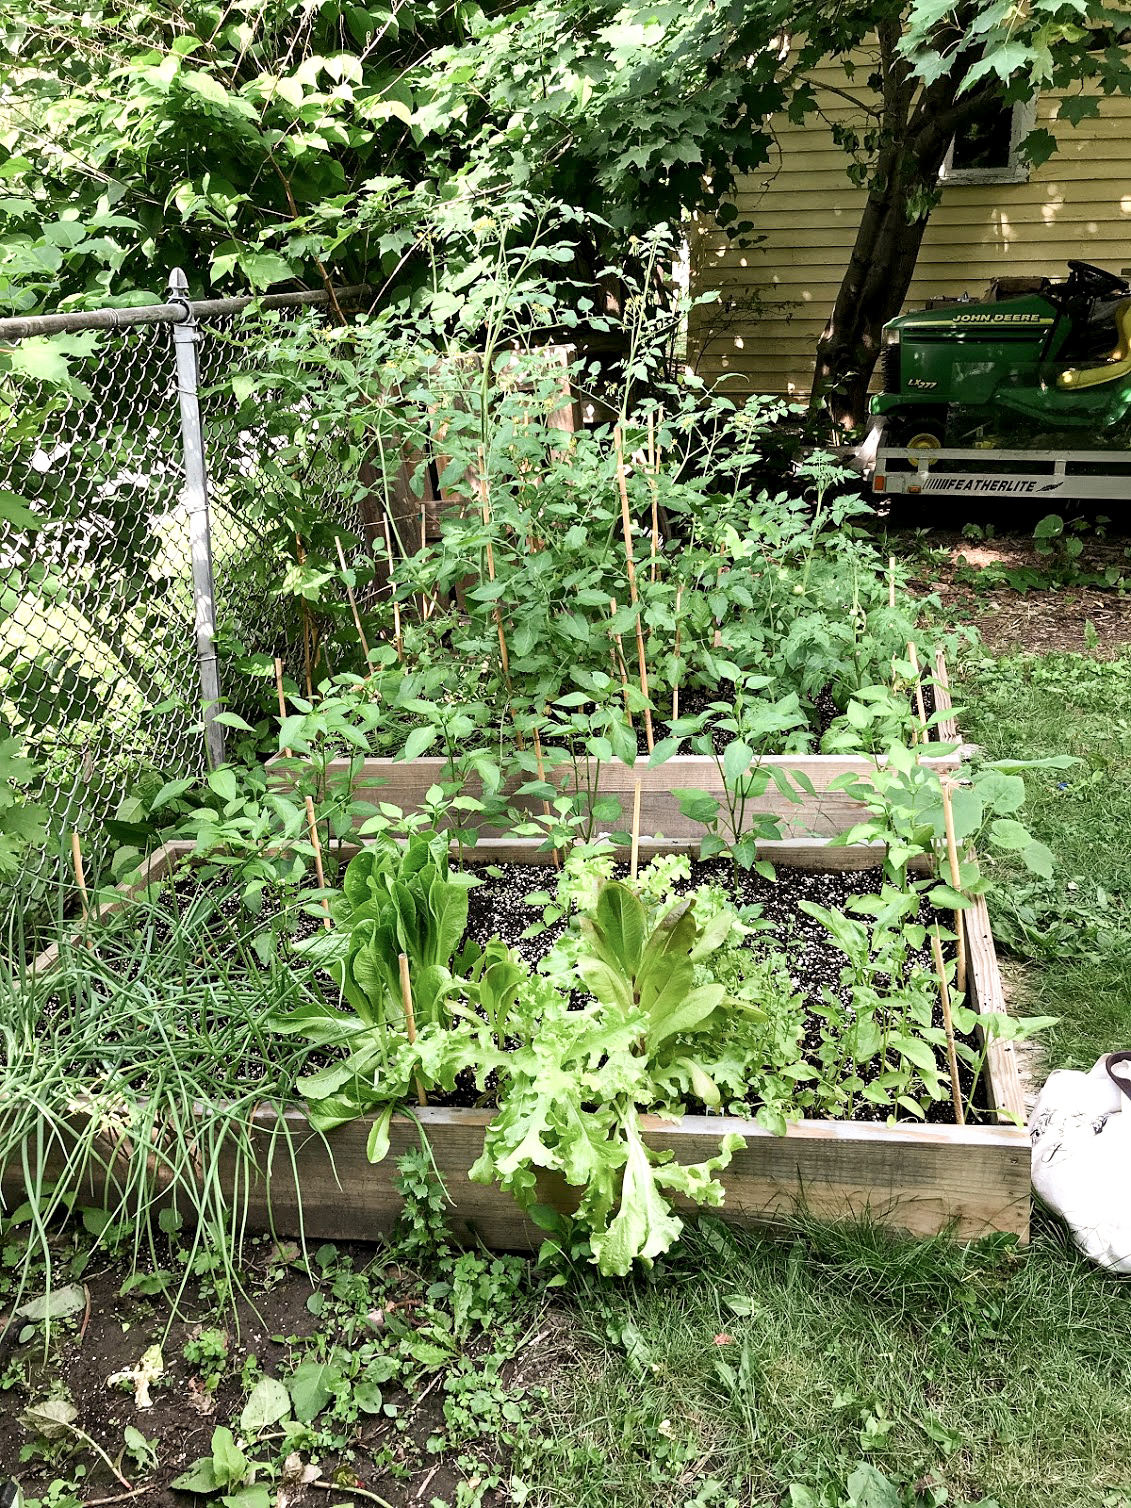
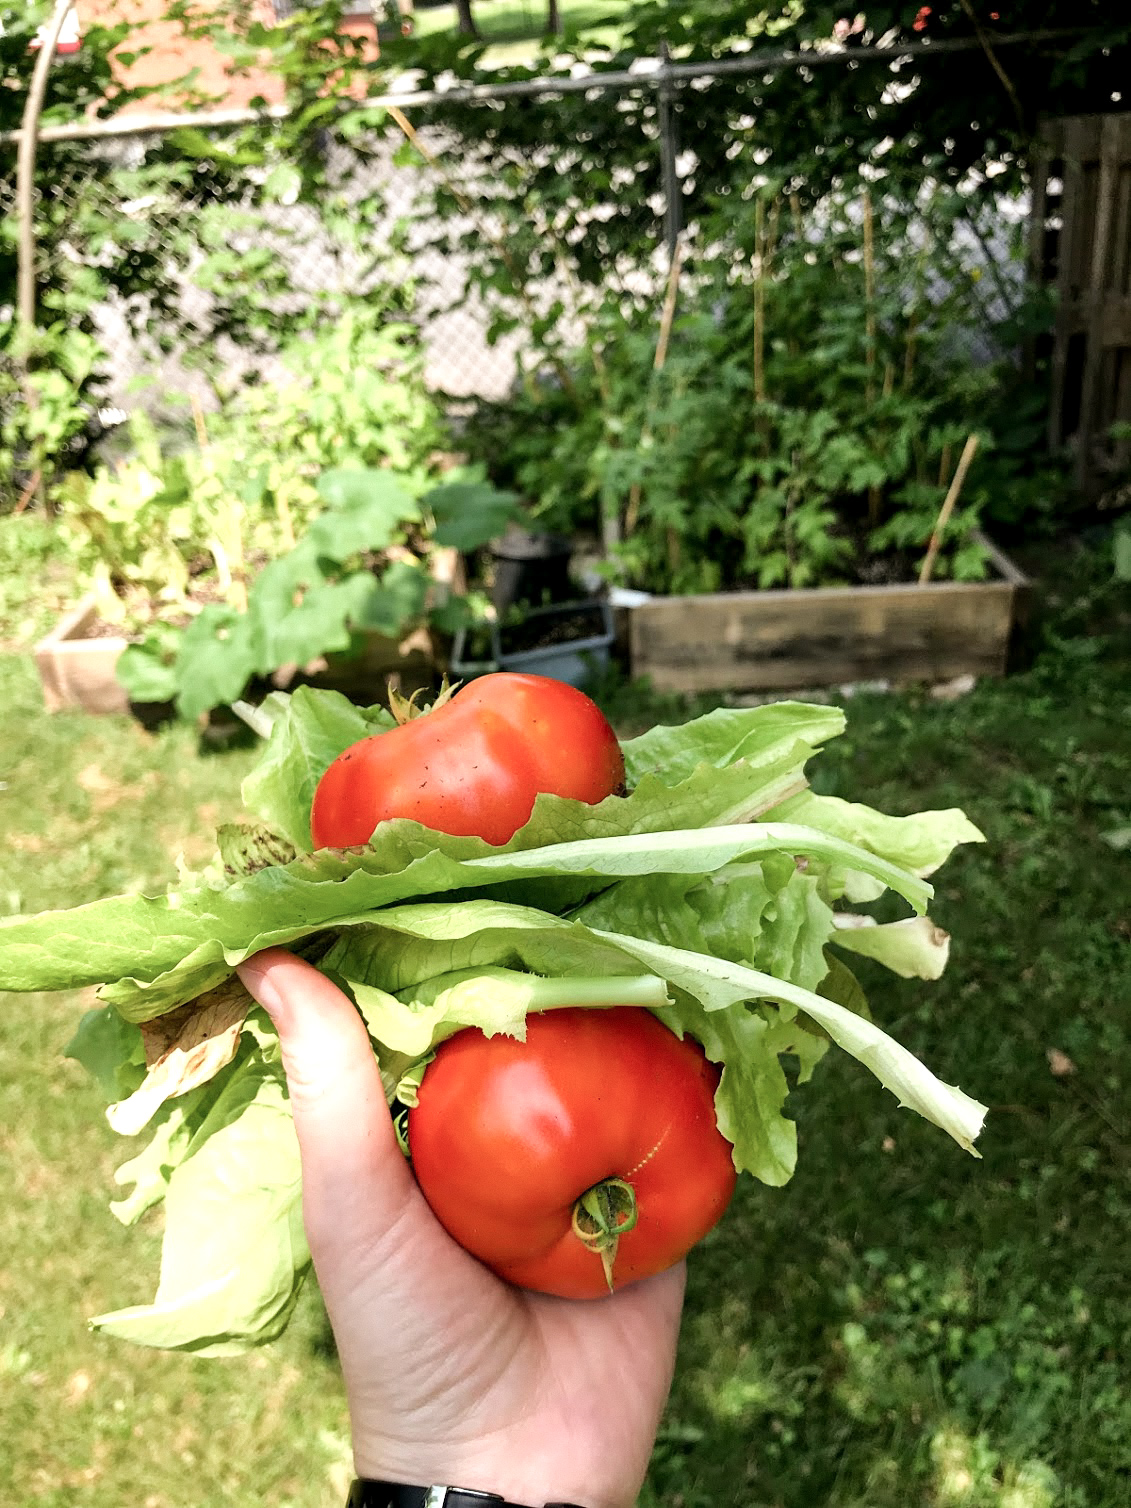
Overall, I'm pleased with how the beds did last year considering it was my first year with them. The one issue was a tree in our backyard that blocked some of the important, afternoon sun that I think caused some issues with the peppers and tomatoes. But that tree was cut down at the end of the season last year, so I'm excited for my beds to get all the sun they want. My best producing crop was cherry tomatoes. I literally had to cut them up and freeze them to make sure they didn't go to waste! The lettuce greens did well for a while, but didn't do so well once it got really hot (typical of a lot of greens). The onions were planted really close to each other, so they didn't get very big, BUT they fed us all winter long! I just stored them in a basket in a dark cupboard and they only started to shrivel up this spring. The ones that we didn't eat are starting to sprout to give us new onions this year! So exciting!

Here's what I learned and will tweak this year:
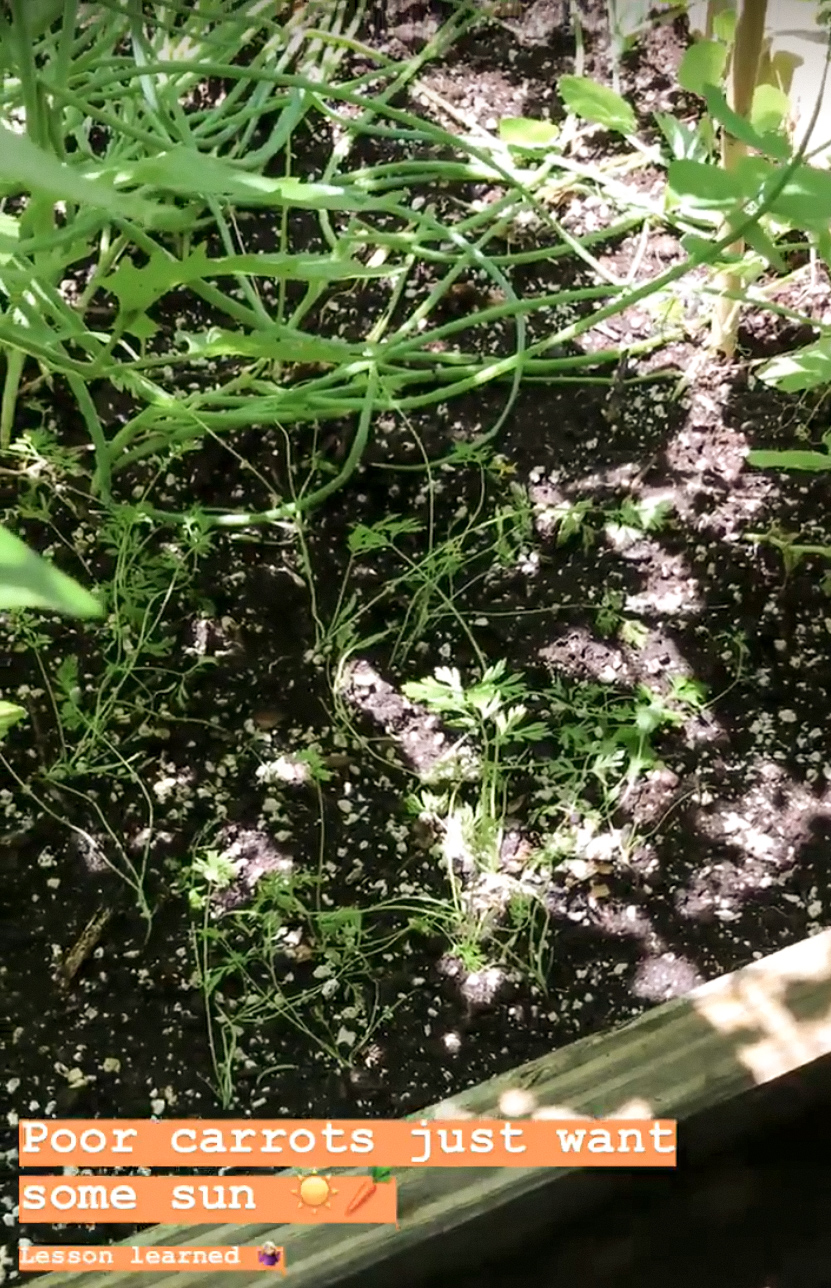
1. Plant taller plants where they won't shade other plants. I planted the cherry tomatoes in the middle of the right bed. Behind them were cucumbers, carrots and onions. The carrots and cucumbers did not make it. I'm not sure if this was the only issue, but the cherry tomatoes got so big that the plants were completely shaded. Oops!
2. Support your tomatoes. My regular tomatoes didn't do so hot. I have lots of ideas for how to improve them this year (like companion gardening! More on the HERE). But I did not stake these very well, so that is one easy way to make sure your tomatoes can grow well. I'm also hoping the extra sun will help them trive this year!
3. Feed your plants. Yeah, obvious to some, but I completely forgot to do this last year. Another thing that probably would have improved a lot of the plants I had issues with. There are lots of ways to do with DIY methods or simply grab some organic fertilizer from your local greenery.
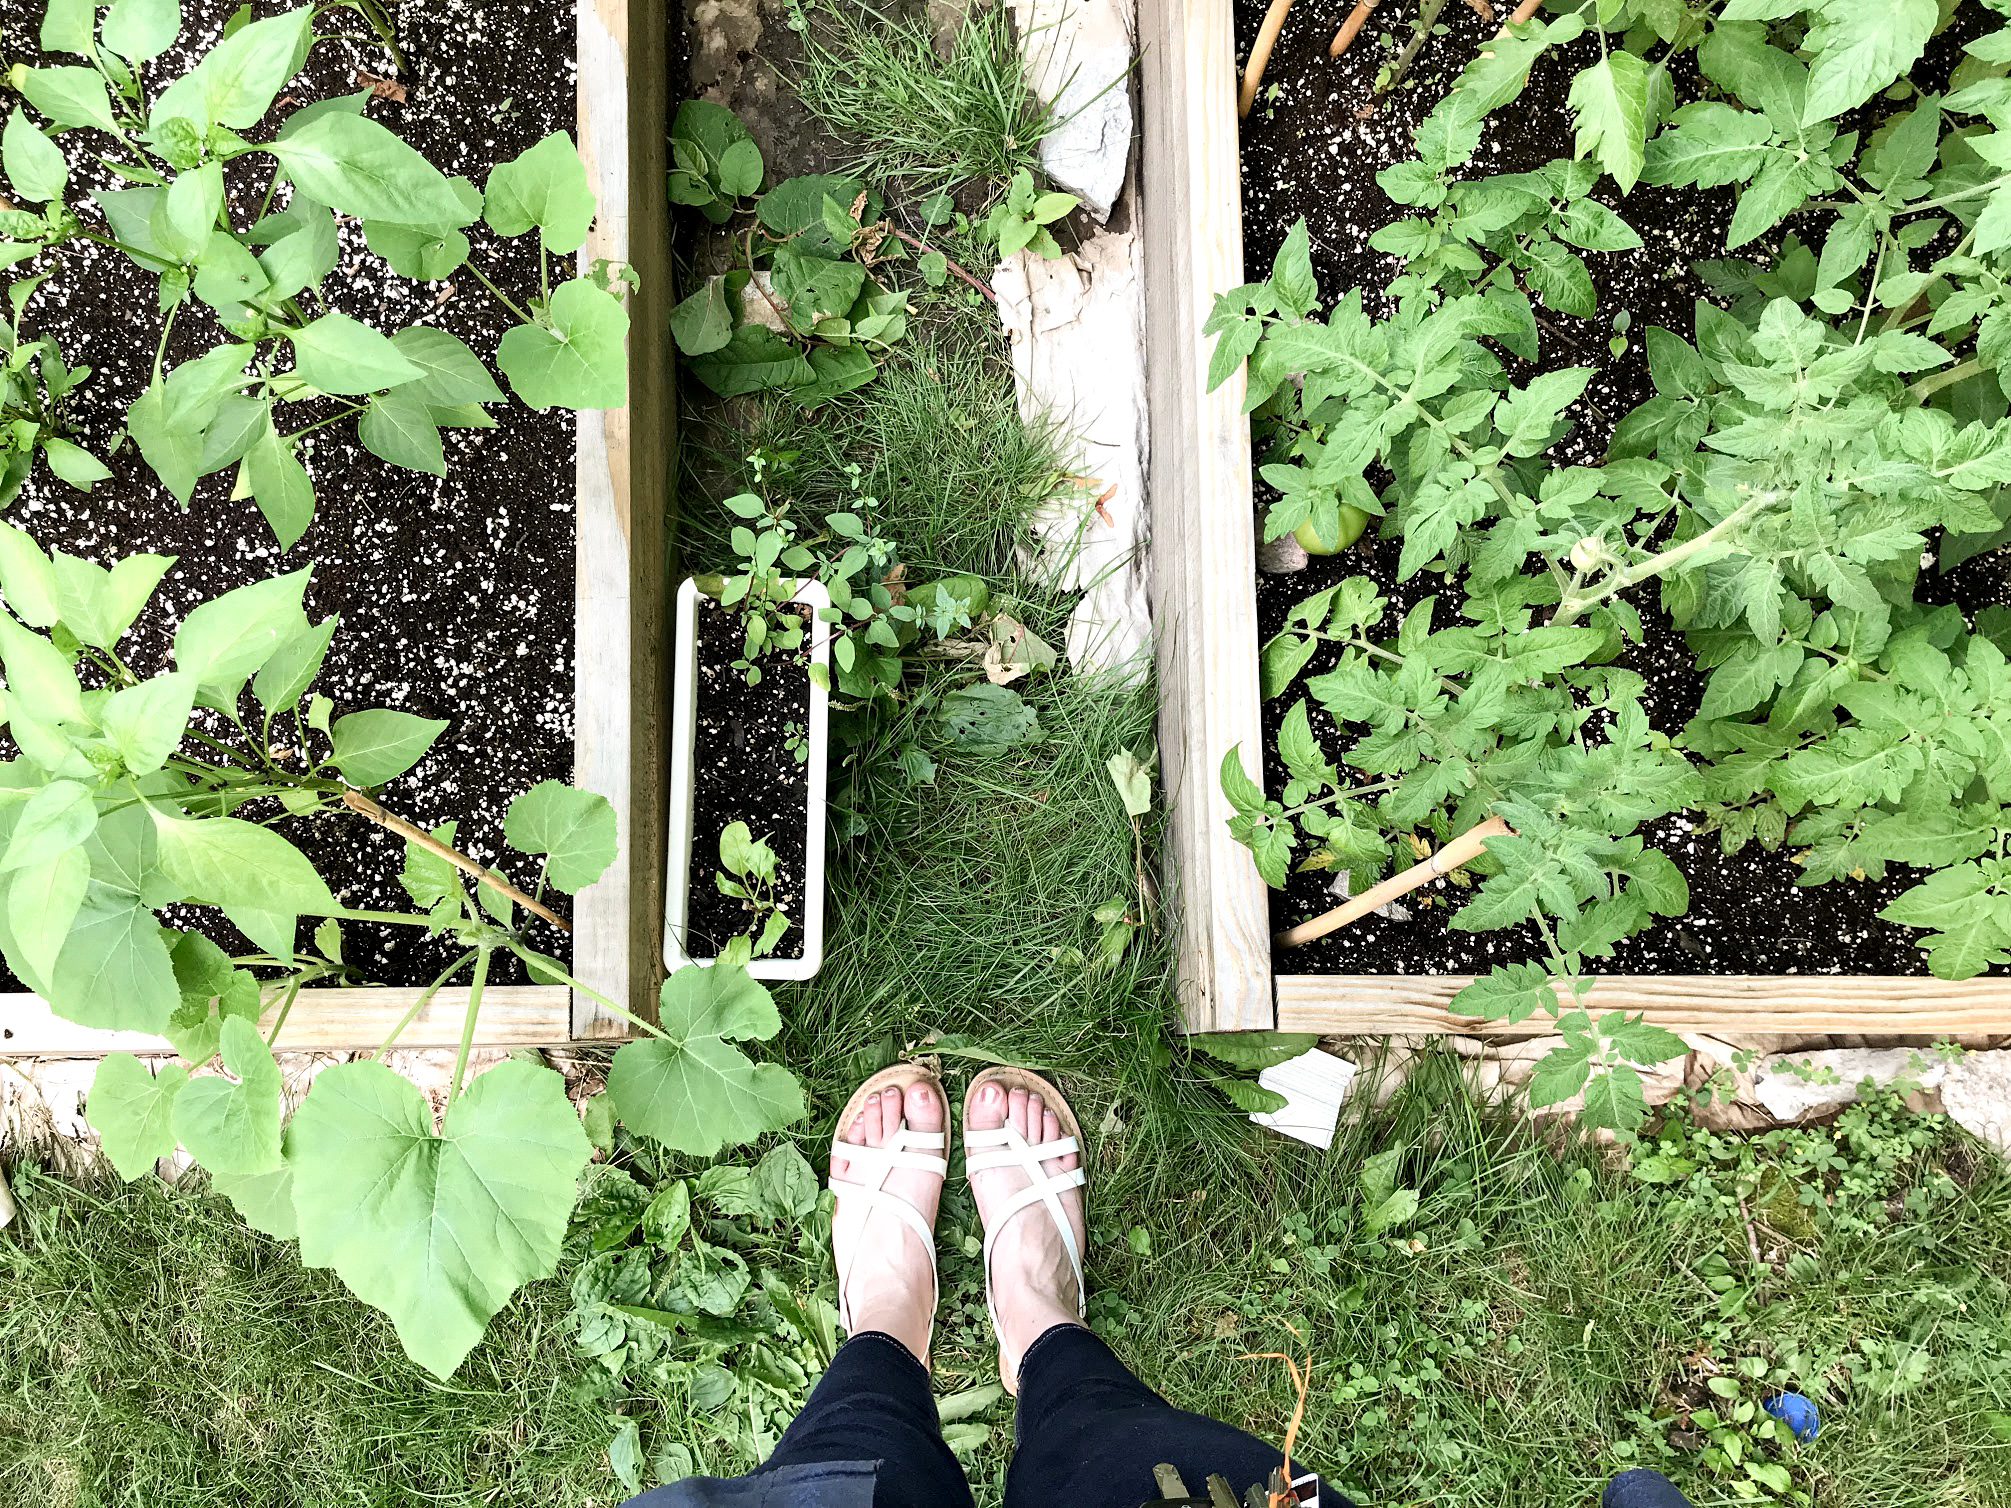
4. Landscaping Fabric. The weeds weren't awful last year, but the one weed that takes over in our yard is the Japanese Milkweed. It's very invasive and destructive and some of those made their way into the beds. Last year, I lined the bottom with lots of paper to help prevent weeds. However, there were some issues with this. First of all, it biodegrades over time, which is a good thing because it provides nitrogen to feed the plants (compost) and doesn't leave a bad trace in the ground, but that also means it disappears and weeds can get through. Also, the beds weren't quite level on the ground because of some slant, and this made it easier for the weeds to sneak through the sides. As I was prepping the beds this year, I found that the nasty weeds were already taking over the beds, so I knew I had to take initiative and nip it in the bud. So I spent hours emptying each bed, cleaning out all the awful weeds and roots (that could grow more weeds), then I added landscaping fabric covering the bottom and going up all the edges. I'm hoping this really keeps those nasty weeds out this year! I'm sure in a lot of spaces, the paper on the bottom would be plenty, just make it plenty thick! Points for using recycled paper, like from those amazon boxes we all get.

Those are the major things I'll be changing up this year. Stay tuned for the details of what I'll be planting and where this year. I'll be sharing what I've learned from researching companion planting. I'm so excited to try it out!